Contouring is more than just a trendy term in the beauty world; it’s an art form that can redefine and elevate your makeup game. This technique, which involves creating shadows and highlights on the face, is designed to accentuate natural features and achieve an elegant finish. Whether you are a makeup novice or an experienced artist, understanding contouring methods can open up new dimensions in your looks. The beauty of contouring lies in its versatility; it allows you to craft soft, radiant glows or intense, dramatic effects depending on your mood or occasion. With countless techniques available, this guide will navigate you through the essential methods, tools, and visual cues to master the art of contouring. By the time you finish, you will have a comprehensive understanding of what effective contouring looks like and how you can incorporate it into your routine.
The Basics of Contouring
To grasp the fundamentals of contouring, it’s imperative to understand how light interacts with the face. Shadows and highlights work in tandem to create the illusion of depth, structure, and symmetry. Naturally, different face shapes will dictate precise application methods; therefore, recognizing your specific shape is paramount. Most commonly identified shapes include oval, round, square, heart, and long. Defining your face shape will guide you in tailoring your contouring techniques for maximum effect. Remember, great contouring starts with a solid foundation of knowledge about your unique features.
Your face shape significantly influences where and how you contour. By analyzing your features, you can determine the most flattering angles to enhance. Here’s a brief overview of how contouring can be adapted based on face shape:
- Oval: Light contouring on the sides of the forehead and jawline to maintain balance.
- Round: Focus on contouring the sides of the face to create length.
- Square: Contour the jawline and sides to soften angles and add femininity.
- Heart: Lightly contour the forehead while emphasizing the chin for balance.
- Long: Contouring the sides and under the chin to shorten the face.
Tools and Products for Contouring
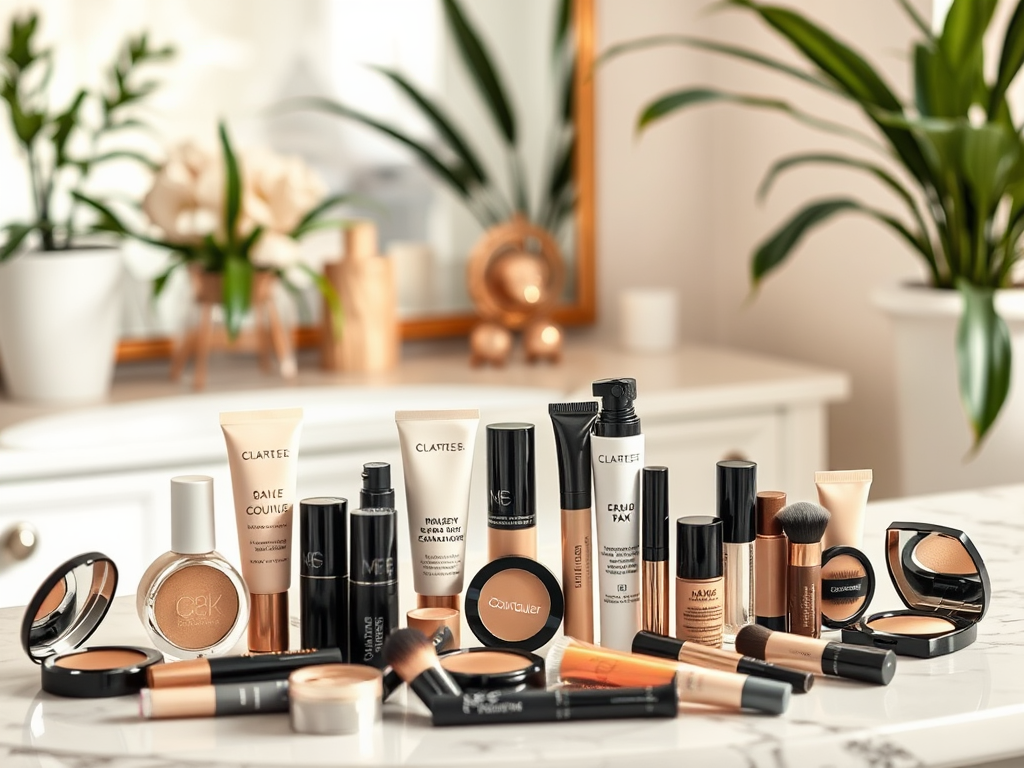
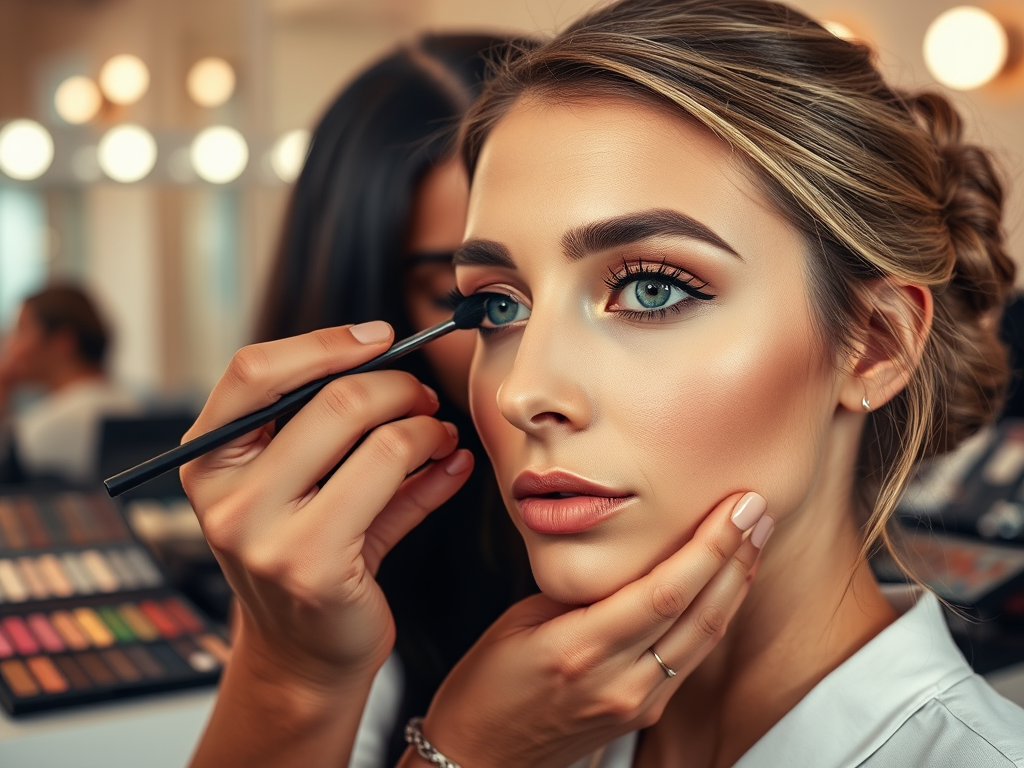
The success of your contouring largely hinges on the tools and products you choose. With an array of options available in the beauty market, selecting the right kind can mean the difference between a flawless application and a makeup mishap. Brushes, sponges, and various product types—each have distinct benefits that cater to different needs. It’s essential to experiment and find what works best for you, as everyone’s preferences can vary significantly. For beginners especially, starting with the right tools can set you on the path to mastering contouring.
Brushes and sponges each bring unique advantages to the contouring table. Here’s a summary of their features:
| Tool | Advantages |
|---|---|
| Brush | Provides precision and control; suitable for detailed work. |
| Makeup Sponge | Allows for seamless blending; ideal for a softer finish. |
Step-by-Step Contouring Techniques
Once you have your tools ready, it’s time to dive into the various techniques that will shape your contouring journey. Each method offers distinctive effects and can be adapted to suit different occasions. Here are some of the most popular techniques, each varying in complexity and outcome. From the classic to the more innovative, there’s a technique to match every makeup style and skill level. Understanding these will enable you to choose the best approach for your desired look.
- The Classic Contouring Method: This involves carefully applying dark and light shades strategically on the face to create a sculpted effect.
- The Strobing Technique: This focuses more on highlighting to create a fresh, dewy look, opting for illumination instead of shadow.
- Reverse Contouring: This innovative approach highlights first and then contours, giving a soft, illuminated effect that enhances sharp features.
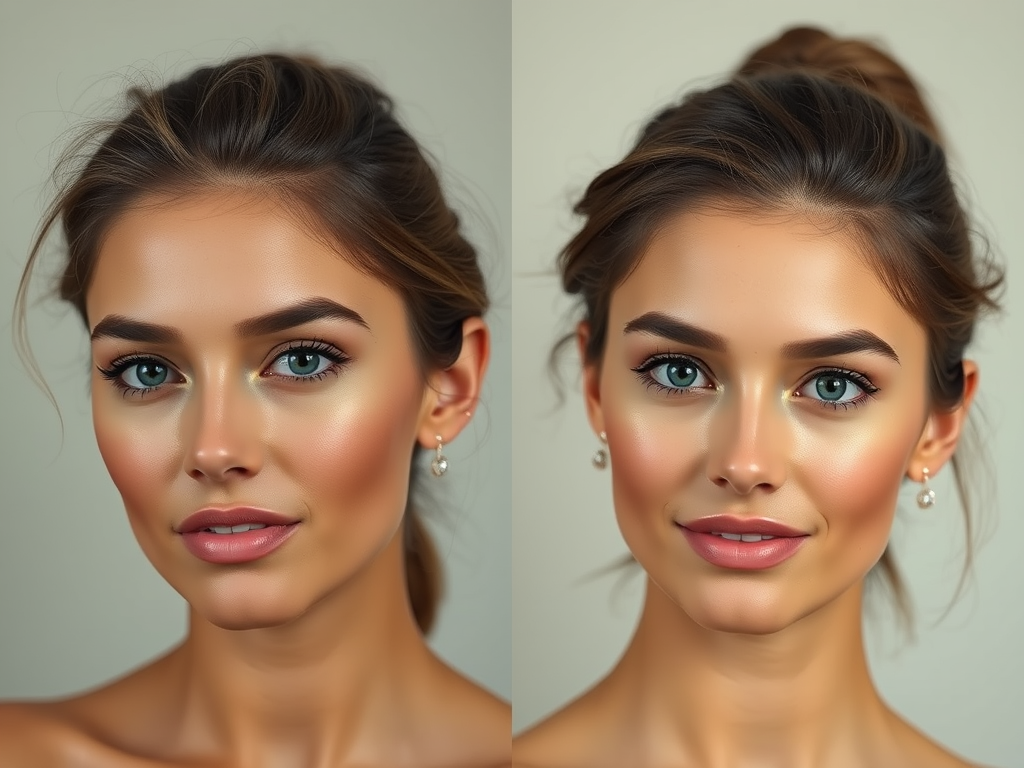
Visual Examples of Contouring
Visual comparisons can be incredibly powerful in illustrating the effectiveness of different contouring techniques. Side-by-side images detailing contoured and non-contoured faces can highlight the transformative impact contouring can have. Additionally, it’s equally important to learn what pitfalls to avoid. By observing common mistakes visually, you can enhance your learning experience, ensuring your contouring journey is as smooth as possible.
Conclusion
Contouring is not just a makeup technique; it’s a creative expression that allows you to reshape and redefine your features. By understanding the various techniques, tools, and common pitfalls highlighted in this guide, you now hold the key to elevating your makeup artistry. With a penchant for experimentation and practice, the world of contouring can unlock new possibilities for achieving the looks you’ve always desired. Your face is your canvas, and contouring is the artistry that can bring your vision to life.
Frequently Asked Questions
- What is the purpose of contouring? Contouring is used to create shadows that define the structure of the face and enhance the areas you want to accentuate.
- Can contouring work for all face shapes? Yes, different techniques can be tailored to suit any face shape, enhancing unique features.
- What products are best for beginners? Cream contours and sticks are generally easier to blend and work with for beginners.
- How can I make my contour last all day? Setting your contour with a translucent powder or spray can help maintain its longevity.
- Is contouring suitable for everyday wear? Contouring can be adjusted for subtlety, making it suitable for both everyday and special occasion looks.


